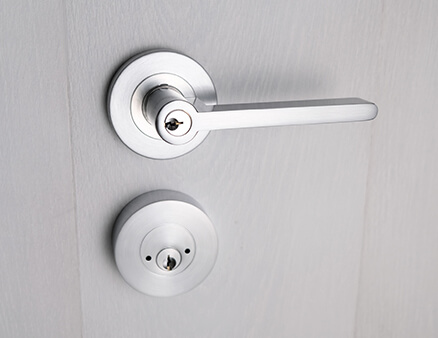
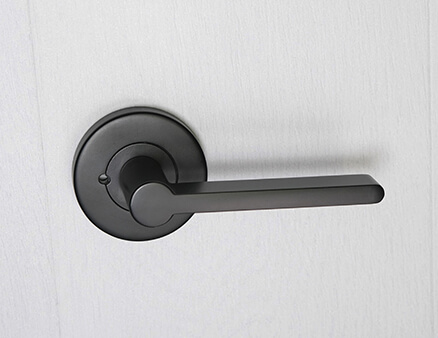
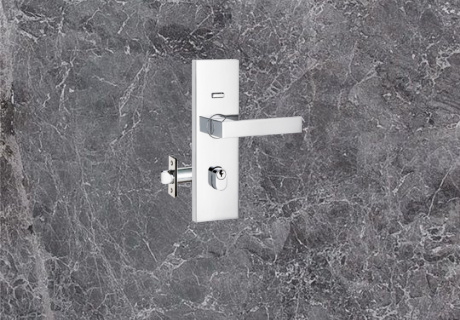
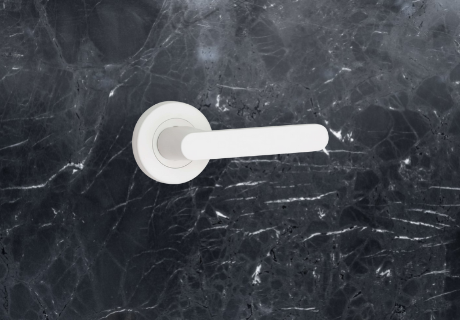
Over time with repeated daily use, door handles begin to deteriorate, and pick up scuffs and scratches from everyday use. So it’s worth considering replacing and also updating to the current trends, or to fit a minor refresh or renovation. Updating door handles can instantly uplift the overall aesthetic feel of your home for minimal cost.
Here at Lemaar, our latest product, the Almeri Brushed Brass is available in Passage, Privacy, Entrance and Dummy Sets to help you achieve the same look across your home. Our products come with an easy-to-understand installation template and steps to help you on your way to installing new door handles.
For a DIYer, here’s a summary of the steps to follow to get this job done right.
Step 1 - Mark the Door
As all good tradespeople will say ‘measure twice, cut once’. Fold and apply the installation template to the edge of the door and mark the latch hole and the handle hole position on the door.
Step 2 - Drill Holes
Drill out the handle hole with a circular saw. About 25mm in the edge of the door to the depth of the entire latch. Stop drilling when you first see the pilot bit through the other side of the door, for a clean finish.
Step 3 - Install Latch
Insert the latch in the hole and mark out the position of the plate. Mortice the latch faceplate using a chisel to the recommended depth. Insert the latch then screw it into place.
Step 4 - Install Lock Body
Place the door handles into the holes and check for alignment. Start with the outside handle first. If you are installing a privacy door handle, be sure to have the locking side on the correct side of the door. Hold the knobs in place and screw them in. Keep in mind that only properly aligned screws will thread quickly when you turn them.
Step 5 - Install Strike Plate
Mark, drill, chisel and fit the striker plate to the door jam. Close the door and use the latch to determine where the hole for the striker plate needs to be positioned. Use a screwdriver or drill to secure the strike plate in position on the door jamb.
Test the door handle
After doing these 5 easy steps, all that’s left now is to test out your newly installed door handle to make sure that it works smoothly as it should. Open and close the door a few times. If you installed a privacy door handle, try locking the door and make sure it locks and holds.
Stand back and be proud
There is a lot of satisfaction knowing that you have successfully completed a DIY project yourself. So you deserve to stand back and be proud of your achievement, and the positive impact that your effort and choice of door hardware have on your home.
Further reading
Ten popular home styling themes and door handles to suit
https://www.lemaar.com.au/articles/decor-styles-and-door-handles/
White door handles and interior themes
https://www.lemaar.com.au/articles/white-door-handles-when-white-works/
Need more help?
If you can’t find the answers or solutions here, then feel free to call our customer service team on 03) 9580 1630, or via email at customerservice@lemaar.com.au