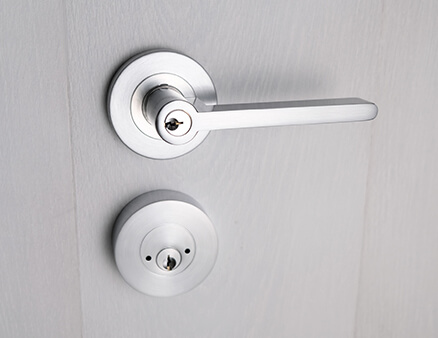
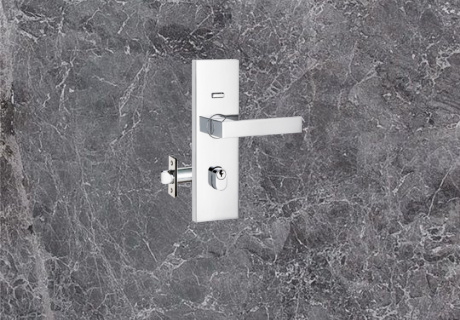
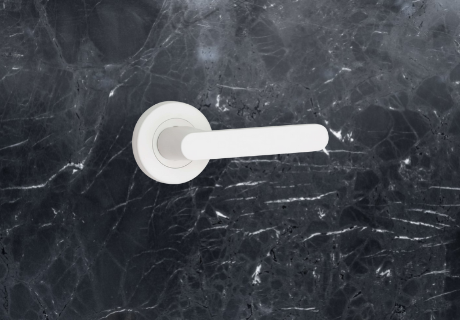
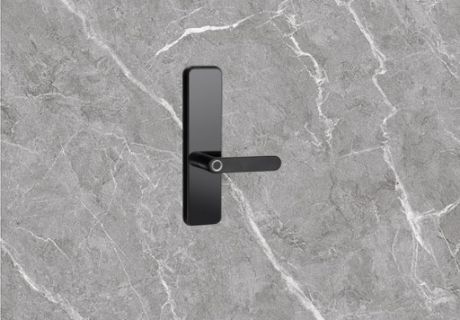
Installing a door handles looks like a daunting task, but with a few tools, a little effort and a few skills you can achieve this DIY project with success and pride.
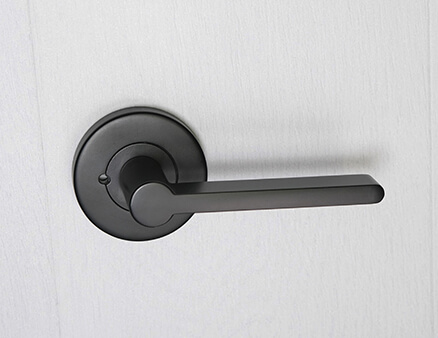
Black door handles - installing the Orba passage handle
black door handle installation
Australian-owned and designed in Australia, Lemaar door handles have been created to fit Australian’s love of DIY, therefore are easy to install.
To help you consider if you can successfully complete this project, here is a summary of the 4 easy steps to install door handles:
1. Measure and Mark
Measure the height of the door handle or you can check the height indicated in the door handle kit that you bought. Mark where you will drill the holes in the side and front of the door. Repeat this on the other side.
2. Drill Holes
Drill the holes marked on the side, back and front of the door.
3. Install Latch
Insert the latch into the hole you’ve drilled in the side of the door, then draw an outline around the faceplate. Remove the latch and faceplate after. Chisel out a hole for the latch. Install the latch, and drill the screws at the top and bottom of the latch.
4. Install Lever
Remove the faceplates from the two handles. Insert the screws into the smaller holes, then the bolt into the larger hole. Before attaching, check the handle by turning it in a downward motion. Insert and tighten the fixing screws. Repeat the same step on the other side.
Keep in mind that not all handles can be installed the same way. Always check and follow the instructions provided with the door handle kit.
A door installation template and installation instructions sheet are provided in each Lemaar product box. By following these instructions, you can install yourself.

